In a world of mass-produced gear, having a custom EDC kit lets you stand out while making your tools feel truly yours. Personalized Everyday Carry isn’t just about aesthetics—it’s about tailoring gear to your exact needs, whether that means adding a unique engraving, modifying a multi-tool for better grip, or building a wallet from scratch. The best part? You don’t need advanced skills to DIY your EDC. This guide breaks down easy, budget-friendly DIY EDC projects and pro customization tips to turn ordinary gear into something special.
Why Customize Your EDC?
Personalizing your EDC offers more than just bragging rights. It lets you:
-
Fix pain points: Modify gear to fit your hands, pockets, or daily tasks (e.g., adding a clip to a flashlight that didn’t come with one).
-
Express identity: Add initials, favorite quotes, or symbols that reflect your personality.
-
Boost functionality: Tweak tools to work better for your routine (e.g., shortening a keychain to reduce bulk).
-
Save money: DIY customization is often cheaper than buying pre-customized gear from luxury brands.
Even small tweaks can turn a generic multi-tool or wallet into a piece that feels uniquely yours.
Easy DIY EDC Projects for Beginners
These projects require minimal tools and no prior DIY experience. Start with one, then level up as you gain confidence:
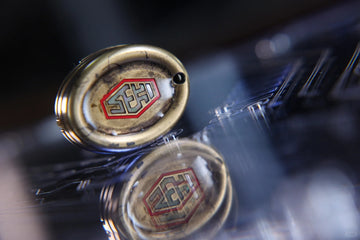
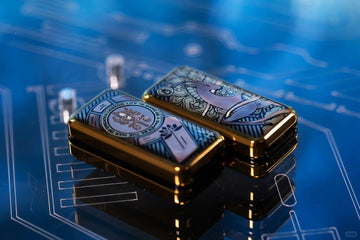
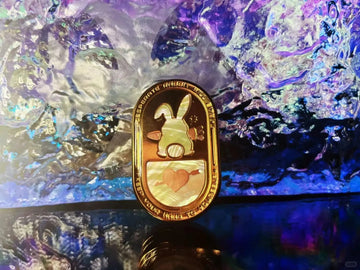
1. Engraved Keychain: Add a Personal Touch
A custom keychain is the simplest way to dip your toes into DIY EDC. Here’s how to do it:
-
Materials needed: Metal keychain blank (brass, aluminum, or stainless steel—available on Amazon for $5-$10), permanent marker, Dremel tool (or handheld engraver), sandpaper (400-grit).
-
Steps:Use the marker to draw your design (initials, a small symbol, or a short word) on the blank.
-
Secure the blank in a vice or clamp to keep it steady.
-
Use the Dremel with a engraving bit to trace over your design—go slow and apply light pressure.
-
Sand the edges with sandpaper to smooth any rough spots.
-
Pro tip: If you don’t have a Dremel, use a metal stamping kit (under $20) to press letters into the blank for a clean, minimalist look.
2. Modified Wallet: Add a Secret Pocket or Patch
Turn a basic wallet into a functional, personalized accessory:
-
Materials needed: Slim wallet (canvas or leather), fabric patch (with a design you love), fabric glue (for canvas) or leather glue (for leather), small scissors, needle and thread (optional).
-
Steps:For a patch: Clean the wallet surface, apply glue to the back of the patch, and press it firmly onto the wallet. Let it dry for 24 hours. For extra durability, sew around the edges with thread.
-
For a secret pocket: Cut a small piece of fabric (matching the wallet) and glue it to the inside of the wallet, leaving one edge open. This pocket is perfect for storing a SIM card, emergency cash, or a tiny USB drive.
3. Flashlight Grip Upgrade: Improve Comfort and Control
Slippery flashlights are frustrating—add a custom grip in 10 minutes:
-
Materials needed: Flashlight, heat-shrink tubing (matching the flashlight’s diameter), heat gun (or hair dryer on high heat), scissors.
-
Steps:Cut a piece of heat-shrink tubing slightly longer than the flashlight’s grip area.
-
Slide the tubing over the flashlight.
-
Apply heat with the heat gun or hair dryer— the tubing will shrink tightly around the flashlight, creating a non-slip grip.
-
Trim any excess tubing with scissors.
-
Bonus: Choose colored heat-shrink tubing to add a pop of color to your flashlight.
Pro Customization Tips for Advanced EDC Fans
Once you’ve mastered the basics, try these more advanced tweaks:
-
Multi-Tool Blade Sharpening & Polishing: Use a whetstone to sharpen dull blades, then polish the metal with metal polish for a mirror finish. This not only improves performance but also makes the tool look brand new.
-
Custom Pen Refills: Swap out the default ink in your pen for a specialty refill (e.g., waterproof ink, neon ink, or a fountain pen nib) to match your writing style.
-
Leather Dyeing: Dye a plain leather wallet or keychain a custom color using leather dye (available at craft stores). Test the dye on a small hidden area first to ensure you like the shade.
Must-Have Tools for DIY EDC Customization
Build a small toolkit to tackle future projects:
-
Dremel tool or handheld engraver: For cutting, sanding, and engraving metal/plastic.
-
Heat gun: For heat-shrink tubing and shaping plastic parts.
-
Leatherworking kit: Includes leather glue, needles, thread, and a punch for leather projects.
-
Metal stamping kit: For adding letters/numbers to metal blanks.
-
Sandpaper set (400-grit to 2000-grit): For smoothing edges and polishing surfaces.
Final Thoughts: Custom EDC Is About Creativity
Your EDC doesn’t have to look like everyone else’s. With a little creativity and basic tools, you can turn ordinary gear into something that’s functional, personal, and even a conversation starter. The best DIY EDC projects are the ones that solve your unique problems—so don’t be afraid to experiment.
What’s your favorite DIY EDC project? Share photos of your custom gear in the comments—we can’t wait to see your creations!